 PickySprout
Composting in Small Spaces: A Balcony Guide
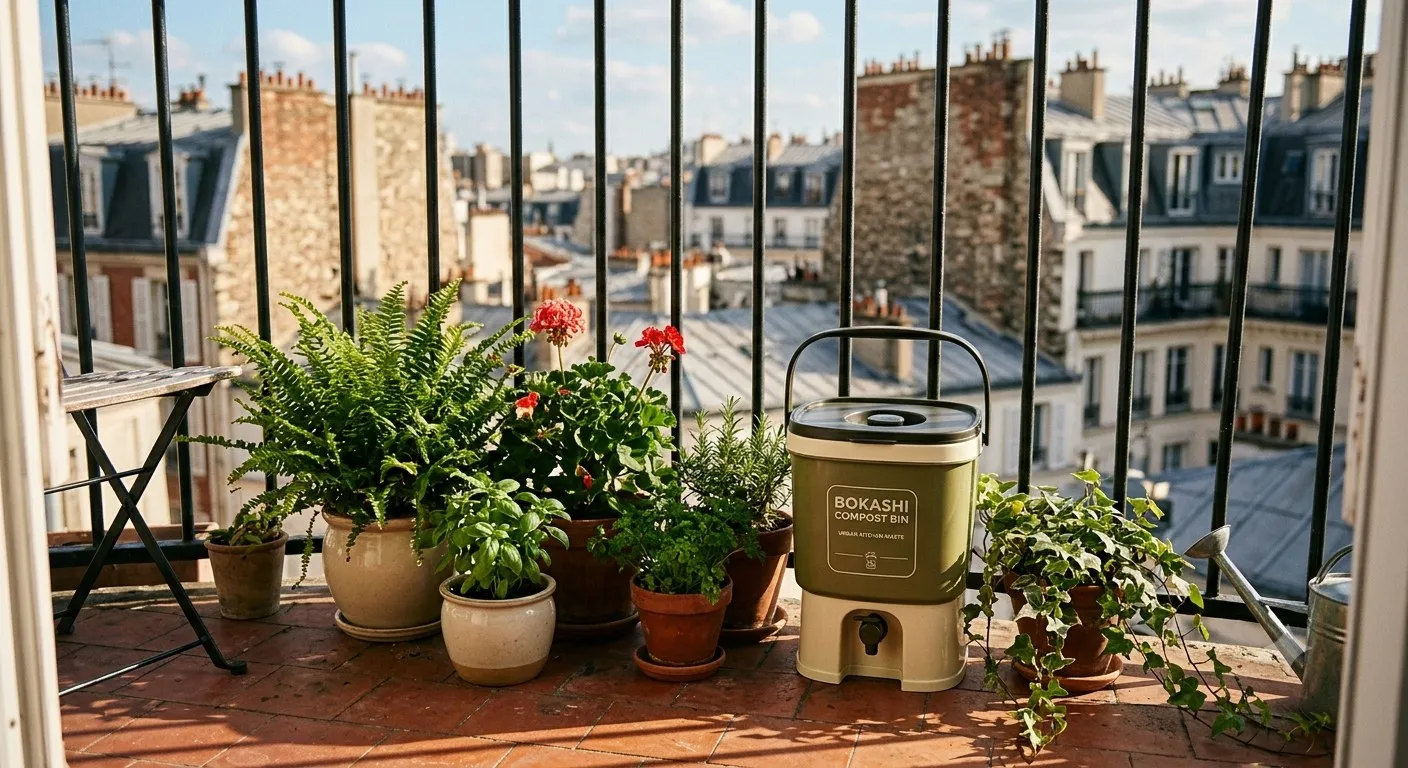
The biggest myth stopping balcony gardeners from composting is that it requires a backyard bin, turning a pitchfork through a steaming pile. It doesn’t. Balcony composting exists specifically because the two methods that work in small, enclosed spaces — bokashi fermentation and vermicomposting (worm bins) — don’t need a big footprint, don’t attract pests when run correctly, and don’t smell if you’re doing it right.
Bokashi: the faster, lower-effort option
Bokashi isn’t composting in the traditional sense — it’s fermentation. You layer kitchen scraps (including meat, dairy, and cooked food, which regular composting can’t handle) with a bran inoculated with effective microbes, sealed in an airtight bucket. It ferments rather than rots, so there’s no bad smell if the lid stays sealed, and no pests since nothing is exposed to air. After two to three weeks it’s “pre-compost” — still needs to finish breaking down, either buried in a container’s soil or handed off to a friend’s backyard compost pile, but it gets there fast and takes almost no active management beyond sealing the bucket after each addition.
Vermicomposting: slower, but produces usable soil directly
A worm bin uses red wiggler worms (not the earthworms you’d find digging in a garden bed — a different species suited to composting) to break down fruit and vegetable scraps directly into rich worm castings, one of the better soil amendments you can make yourself. A bin fits under a sink or in a balcony corner, and a well-maintained one genuinely doesn’t smell — an odor means something’s gone wrong (usually overfeeding or too much moisture), not that worm bins inherently smell.
- Feed in small amounts and let worms mostly finish one feeding before adding more — overfeeding is the single most common mistake and the main cause of smell and fruit flies
- Avoid meat, dairy, and oily foods — unlike bokashi, a worm bin can’t handle these
- Keep bedding (shredded newspaper or cardboard) moist but not wet, and fluff it occasionally for airflow
What to actually do with the finished compost
Balcony composting rarely produces enough volume to fill a raised bed, and that’s fine — its real value is as a soil amendment. Mix finished compost or worm castings into container potting mix at planting time, or top-dress established containers a couple times a season. Either method directly feeds the same pots that produced the kitchen scraps in the first place, closing a small loop that a backyard compost pile can’t offer nearly as directly.
Managing fruit flies
Fruit flies are the most common complaint with both methods, and almost always trace back to exposed food scraps — an unsealed bokashi bucket lid, or worm bin food left uncovered by bedding. Burying fresh scraps under a layer of bedding or bran, and keeping lids sealed between additions, solves the great majority of fruit fly problems before they start.
Setting up your first bokashi bucket
Start with two 5-gallon bokashi buckets with spigots rather than one — you’re never stuck with nowhere to put scraps while a full bucket finishes its two-to-three-week ferment, and you can stagger them so one is always draining while the other fills. Layer scraps no more than 2-3 inches deep at a time, sprinkle roughly a tablespoon of bokashi bran over each addition, and press down firmly to force out trapped air before sealing the lid — a pocket of trapped air is the most common reason a bucket that should smell faintly like pickling vinegar instead turns sour or rotten. Drain the spigot every two to three days regardless of how full the bucket looks; the liquid that collects (“bokashi tea”) is potent and needs diluting at least 1:100 with water before using it on plants, since undiluted it’s acidic enough to burn roots on contact.
Sizing and starting a worm bin correctly
The single most common way a new worm bin fails is starting with more worms and scraps than the bin’s surface area can actually process. As a starting ratio, use about one pound of worms (roughly 1,000 red wigglers) per square foot of bin surface, and feed at half that weight in scraps per week to start — you can increase the feeding rate as the population grows into the space, but overshooting on day one is what turns a bin anaerobic and smelly. Bedding should sit 3-4 inches deep and feel like a wrung-out sponge; if you can squeeze water out of a handful, it’s too wet and needs more dry shredded cardboard mixed in.
What “finished” compost actually looks and smells like
Bokashi pre-compost is done fermenting once it’s uniformly covered in a white or grey mold-like film (this is beneficial, not a sign of failure) and smells sharply sour rather than sweet-rotten — but it still needs two to four weeks buried in soil or a backyard pile to fully break down before it’s safe around plant roots. Worm castings are ready when the material is uniformly dark, crumbly, and smells like fresh forest soil with no recognizable food scraps left; a batch with visible undigested scraps still in it needs more time, not more worms.
Setting realistic expectations on volume
A single bokashi bucket or worm bin from a two-person household typically produces a gallon or two of finished compost or castings every month or two — nowhere near enough to fill a raised bed, but plenty to meaningfully enrich a season’s worth of container potting mix. Treat it as a soil-amendment supplement to store-bought potting mix, not a replacement for it; balcony composting closes the loop on kitchen waste far better than it replaces buying soil outright.